Anet A8
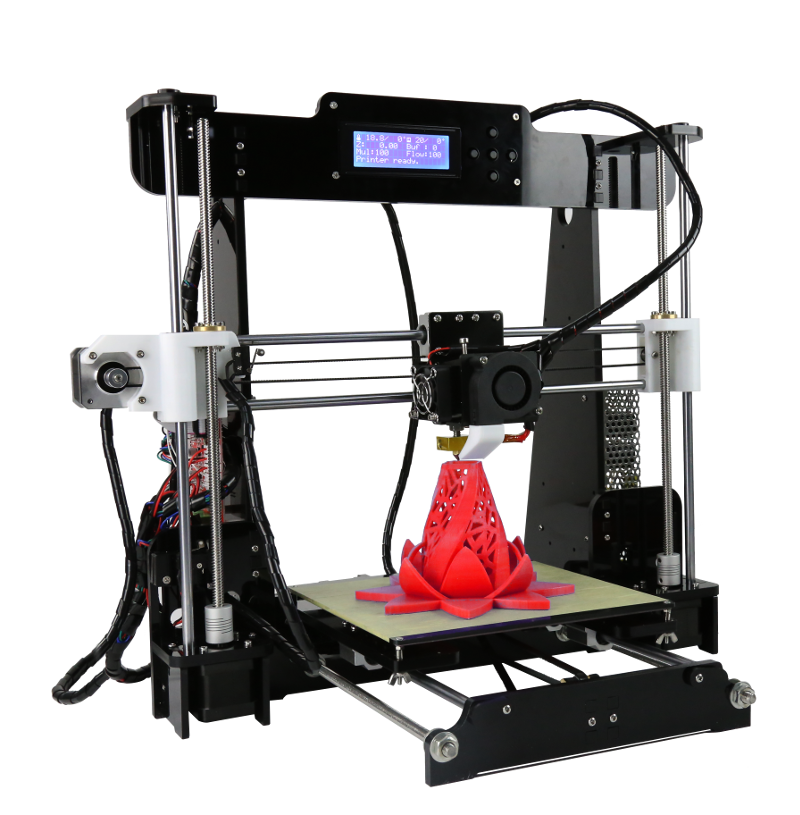
Recently I bought the famous and cheap Anet A8 which is a clone of the Prusa i3 and I do not regret it!
If you are interested in 3D Printing and you have some spare time, I doubt that you regret buying it. The assembly is fun and not that complicated. Once your bed is level and your Z-Limit-Switch is in correct position you can print your first model.
You can buy the Anet A8 from GearBest here.
Here are my impressions, modifications, and recommendations.
First Impressions
 Initially, I had troubles with a messy first layer, bad build plate adhesion, and flipping prints. The most important thing, especially with this printer, is bed leveling. Checking the nozzle gap with a piece of paper is the thing here.
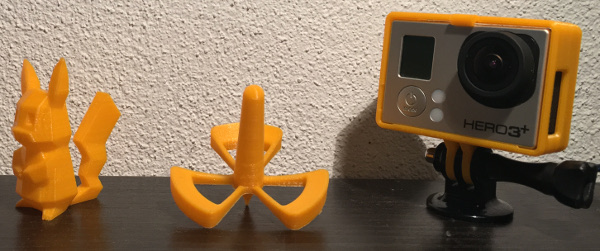
After leveling the bed and using Brim as the adhesion method the prints got pretty good.
There are still little flaws, especially for more complex prints. I will try to fight slightly shifted and gapped layers.
Currently, I am trying to print a differently colored filament over the orange one. The Cura 2.4 Beta has a script feature which delivers PauseAtHeight which tells the printer to retract or home at a specific layer. Then you can probably change the filament easily.
Auto Leveling
 When I received the capacitive Sensor I immediately flashed the Skynet3D firmware. But the leveling worked very unreliably and the nozzle often drove right through the bed 😐
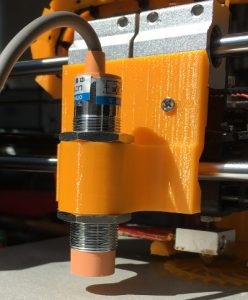
I decided to use a more robust Sensor mount and the original firmware. Since October 2016 there is a version which supports Auto Leveling:
LJC18A3-B-Z/BX Sensor
Back Sensor Mount
Firmware Download Choose A8-L for Auto leveling
Bowden Upgrade
If you want to improve the quality even further you can buy a Bowden Hotend Extruder Kit. The most popular is the E3D v6.
E3D V6 (it is also a clone ^^)
Now that I upgraded my printer with a bowden extruder kit i use Skynet3D again.
Skynet3D Firmware
Although the original firmware now provides auto leveling, there are still reasons to use the custom firmware called Skynet3D. Sadly there is no git repository yet but on the facebook page you will find the latest version and experts who can help you.
Precautions

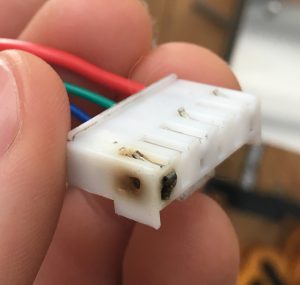
Sometimes left my printer unattended for some hours. Now I don’t do this anymore since this happened. The negative pin of the heatbed melted the connector, which resulted in thermal runaways. I replaced the connector with some connectors of an ATX Power Supply.
